
 How can we help you today?
This guide explains how to connect a Facebook Group to Sharp Archive and how to mute, hide, or disconnect it. Once connected, Sharp Archive archives the group’s content automatically, with no further action required.
It is intended for Sharp Archive users who are members of the Facebook Group they want to archive. The procedure uses the user’s own Facebook login session, exported with the official Sharp Archive Site Storage Export Chrome extension.
1. Process Overview
Connecting a group takes four stages, completed across Chrome, Facebook, and Sharp Archive:
2. Connecting a Facebook Group
Install and pin the extension
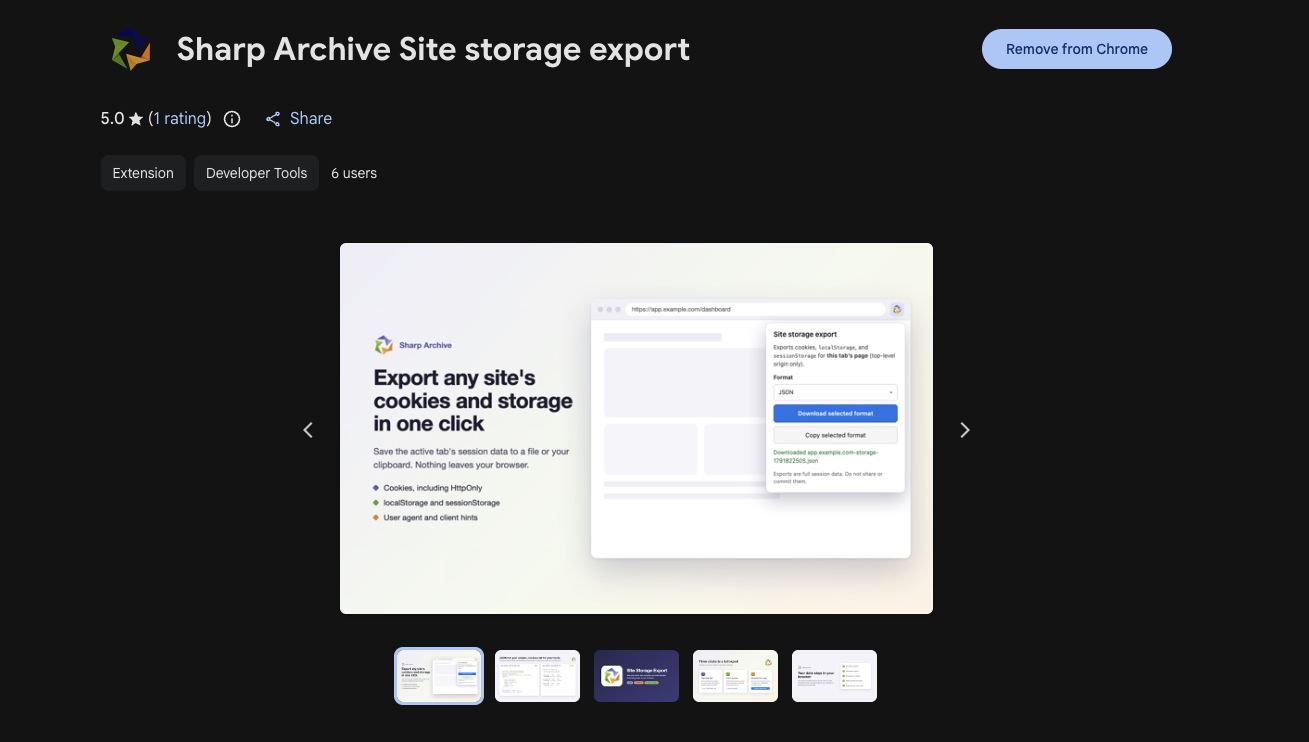
The Sharp Archive Site Storage Export extension is published on the Chrome Web Store. There is no file to download or unzip, and Developer mode is not needed. You only need to do this once per computer.
Add the extension from the Chrome Web Store
- Open the Sharp Archive Site Storage Export page on the Chrome Web Store: Sharp Archive Site Storage Export
- Click Add to Chrome, then click Add extension in the confirmation box.
- Chrome confirms that Sharp Archive Site storage export has been added. The extension updates automatically, so you never need to reinstall it.
Pin the extension to the toolbar
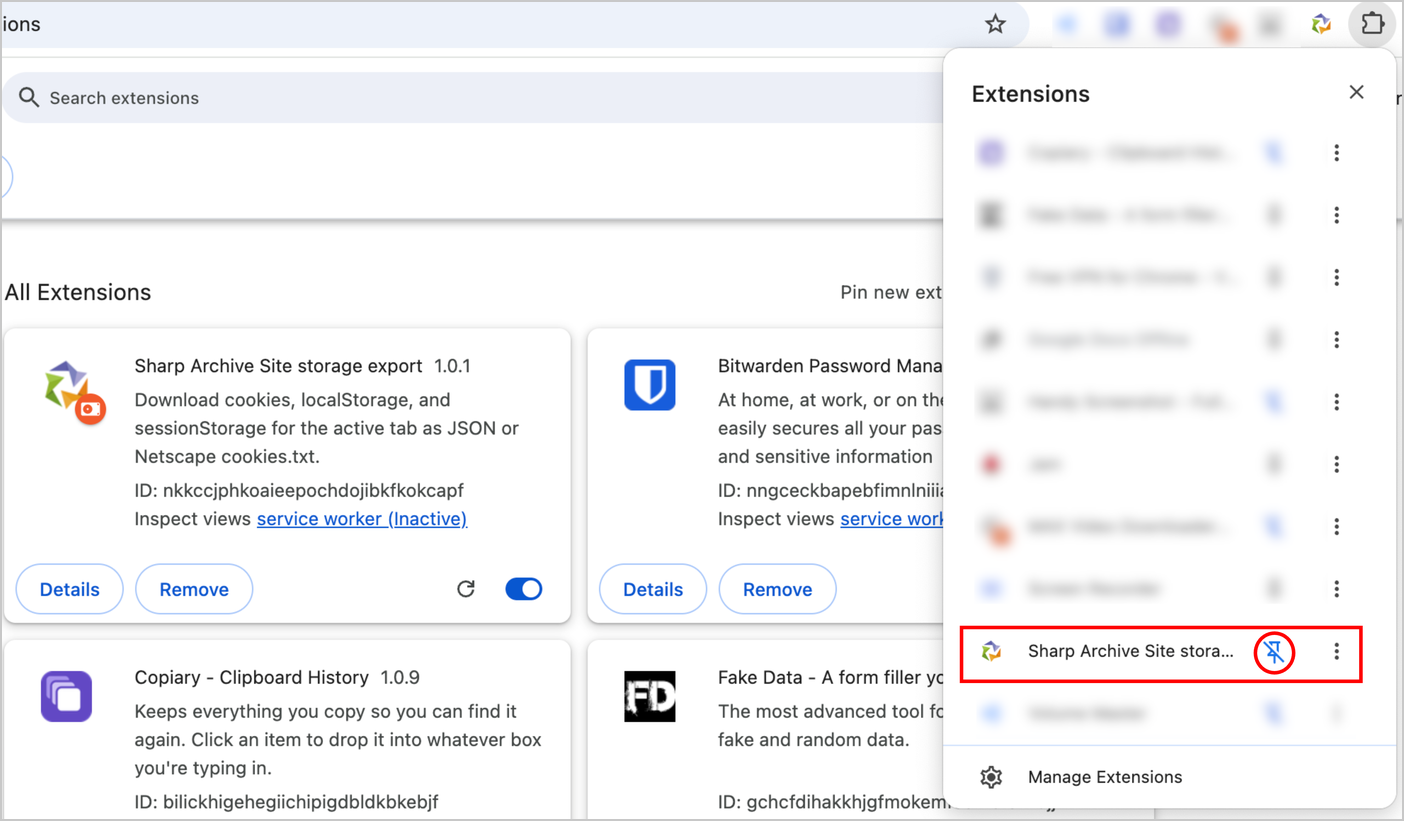
- Click the puzzle-piece Extensions icon in your Chrome toolbar.
- Find Sharp Archive Site storage export and click the Pin icon beside it. The Sharp Archive icon now stays visible in the toolbar, ready for Copy selected format or Download selected format.
Export your Facebook session
Export the session from the Facebook Home page in an incognito window, signed in with the account that is a member of the group.
- Open Chrome, navigate to www.facebook.com, and sign in with the account that belongs to the group.
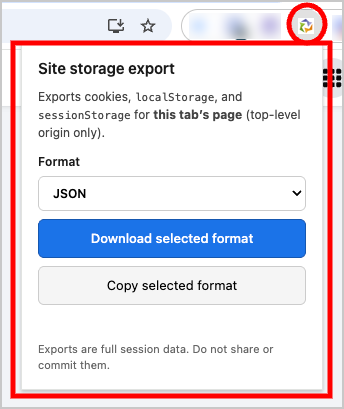
- Stay on the Facebook Home page tab and click the pinned Sharp Archive extension icon in the toolbar.

- In the Site storage export panel, keep Format set to JSON.
- Click Copy selected format to copy the JSON to the clipboard, or Download selected format to save it as a
.jsonfile.
.json file after connecting.
Add the Facebook Group channel
In Sharp Archive, add a new channel of type Social Media → Facebook → Group.
- Log in to Sharp Archive.
- Click Add more channels to open the Add Channel panel.
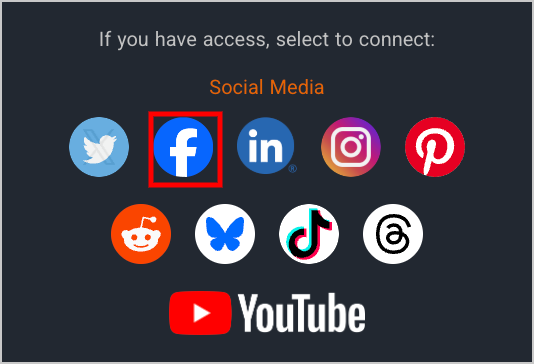
- Under If you have access, select type:, click Social Media.

- Under Social Media, click the Facebook icon.
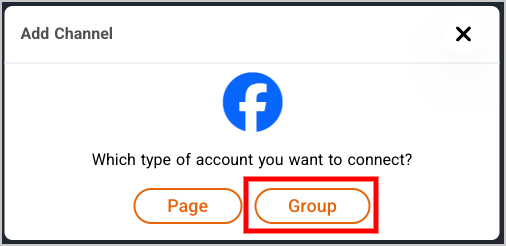
- When prompted Which type of account you want to connect?, click Group.
Submit the session and connect
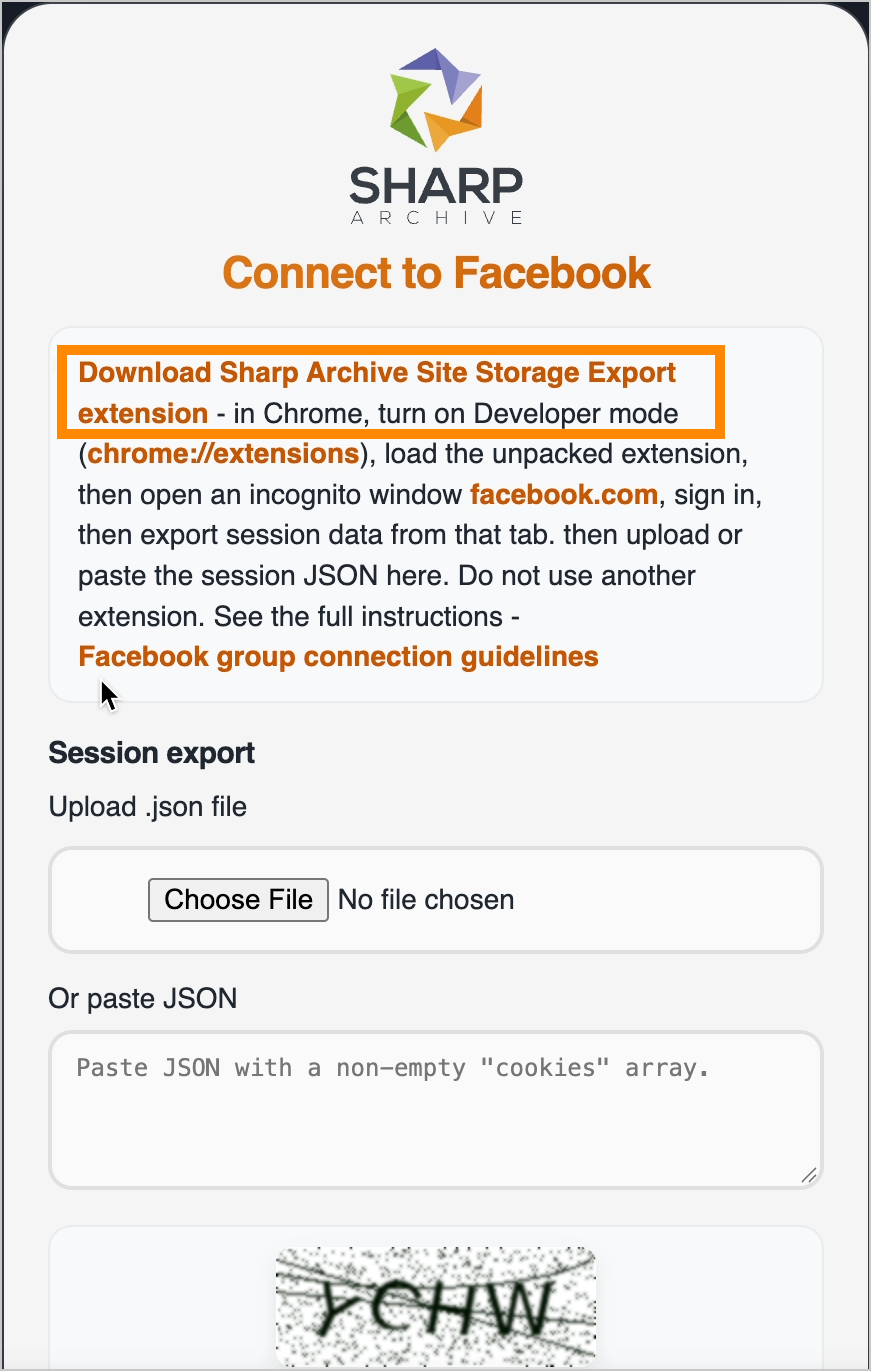
The Connect to Facebook page opens. Provide the session export obtained from Stage 2, then complete the security captcha:
Provide the session export using one of these options:
- Upload .json file: Click Choose File and select the downloaded file, or
- Paste JSON: Paste the copied JSON into the text box. It must contain a non-empty
cookiesarray. - Type the captcha characters exactly as displayed.
- Click Continue.
3. Mute, Hide or Disconnect a Facebook Group
Use Manage status to change how Sharp Archive handles a connected Facebook Group. Content already archived stays in Sharp Archive whichever option you choose.
3.1 Open Settings and find the Facebook Group
- In Sharp Archive, click the Settings (gear) icon in the left-side navigation menu.
- In the list of accounts, find the row where the Channel column says Facebook for your group. Type the group name in the Search box to find it faster.
3.2 Open Manage status
- Click the yellow pencil (Edit) icon at the start of the group’s row.
- In the panel that opens on the right, click Manage status at the bottom to see the three options: Mute, Hide, and Disconnect.
3.3 Give a reason and confirm
- Choose the option you need (Mute, Hide, or Disconnect) and enter a short reason for the change when asked.
- Select Mute, Hide, or Disconnect again to confirm.
4. Security and Data Handling
- Use only the official Sharp Archive Site Storage Export extension to export your session.
- Treat the exported JSON as a password: never share it, email it, or commit it to any repository.
- Delete downloaded
.jsonfiles once connected, and end the Facebook session after disconnecting.